Setting Up a Map
Preparation · Setting Up a Map
Do this before a session so you're not fumbling with grid calibration while people are waiting.
- On a location's Campaign Prep page, add a map by pasting an image or video URL and clicking Load, or Browse... for a file on your own computer. Not every link works, see What kind of link works below.
- This opens the map popup with four modes: Pan & View, Calibrate Grid, Fog of War, and Print (see below).
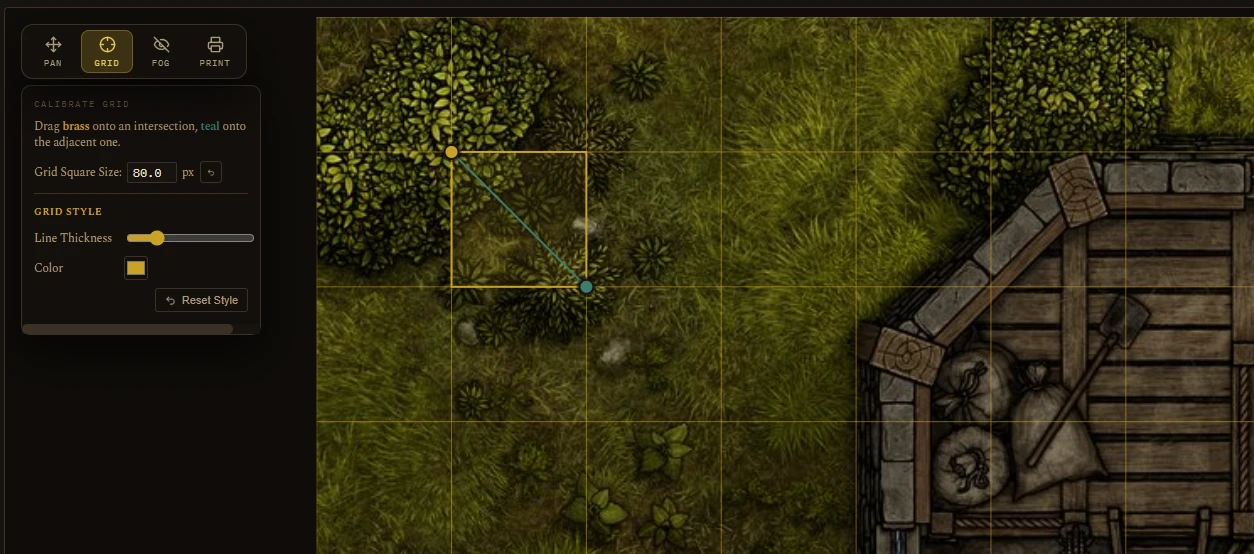
- In Calibrate mode, drag the two handles onto adjacent grid intersections on the image. The app uses that spacing to work out real distances later (for the ruler tool, spell radius labels, and so on). You can also select a handle and nudge it with arrow keys for precision.
- In Fog of War mode, click or drag to mark which cells are hidden by default when a session starts. This sets the baseline, not what's revealed live during play, that gets edited separately once a run is underway.
- Click Save & Close when you're done.
If you want to place tokens ahead of time (an ambush, a set encounter), open the encounter from Campaign Prep and use its Map Setup section. It uses the same placement grid as the live battle map, so tokens you place here are exactly where they'll be when you hit Start, see Running a Live Session.
What kind of link works
When you paste a URL instead of using Browse..., Dalang loads the file straight from that address every time the map is shown. That only works if the link points directly at the image or video file itself, on a host that lets other sites load it.
These work: a link that ends in the file itself, for example https://example.com/maps/cave.jpg, or .png, .webp, .mp4, .webm, from an image or file host that allows hotlinking, your own web space, or a content host you control.
These do not work:
- Google Drive and Dropbox share links. They open a preview page, not the file, and they block other sites from loading the file directly.
- YouTube and Vimeo links. Those only play inside their own video player, which Dalang cannot put a grid on top of. An animated map has to be a direct link to a raw video file.
- Any page that shows the image with other content around it. You need the address of the image on its own: right-click the image and choose "Copy image address" or the equivalent.
On Dalang Desktop you can skip all of this. Browse... copies the file into Dalang's own storage, so any image or video from your computer works whatever its format or host.
Animated maps
A battle map can be a looping video (mp4, webm, mov, m4v, or ogv), a river that actually flows, a torch that flickers, a storm rolling over a battlefield. Paste a direct link to the video file, or on Dalang Desktop use Browse..., then set the Image / Video toggle if it didn't pick the right one (a signed URL with no clear file extension at the end, for instance). Calibrate the grid, place tokens, paint fog, measure, and draw on it exactly as on a still map, none of that changes. The video is always muted and loops on its own. Keep the file small, since every player who opens the shared link downloads the whole thing.
Printing a map and Export Player View both use one still frame from the video, the first frame, not the whole clip. Only the live battle map, the Player Window, and the web player link actually play it.
Printing a map for the table
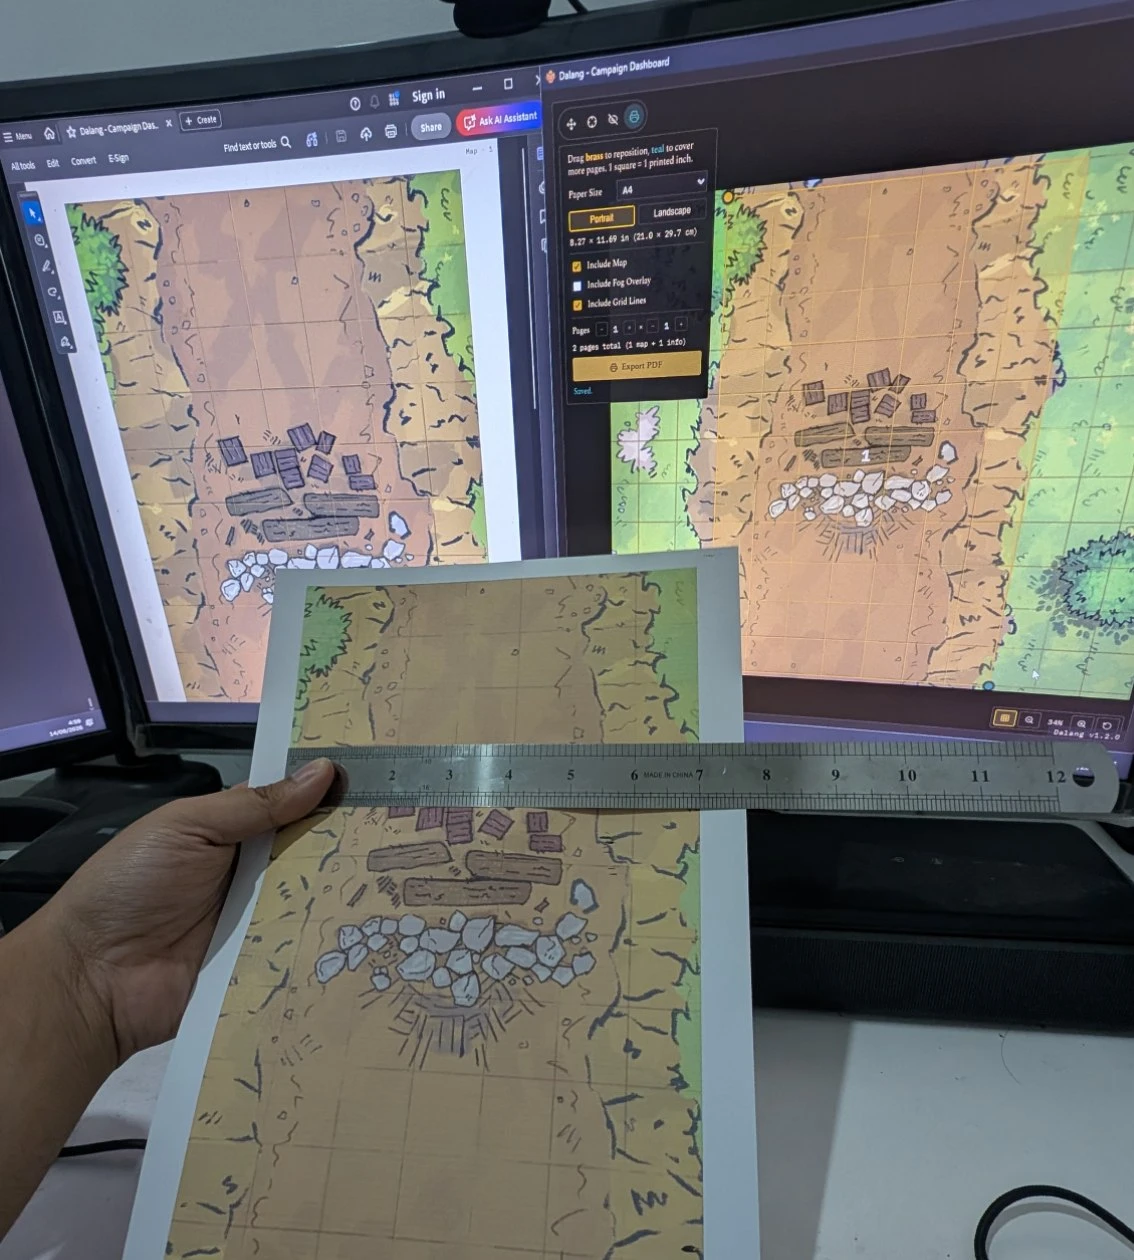
A fourth mode, Print, next to Pan & View/Calibrate Grid/Fog of War, exports a calibrated map as a real, physical-scale PDF, 1 grid square always prints as exactly 1 inch, derived from the map's own calibration above, not separately adjustable. Drag the brass handle to reposition which area prints, drag teal to cover more pages. Pick a paper size (Letter, A4, Legal, Tabloid, A3) and orientation, and choose whether to include the map art, the grid lines, and a separate fog overlay sheet, meant to be printed on its own and physically laid over the map, lifted as the party explores.
You can jump straight into Print as soon as the grid handles are placed, no need to Save & Close the map and reopen it first. If you open Print before calibrating, it shows a short message with a button straight to Calibrate Grid.
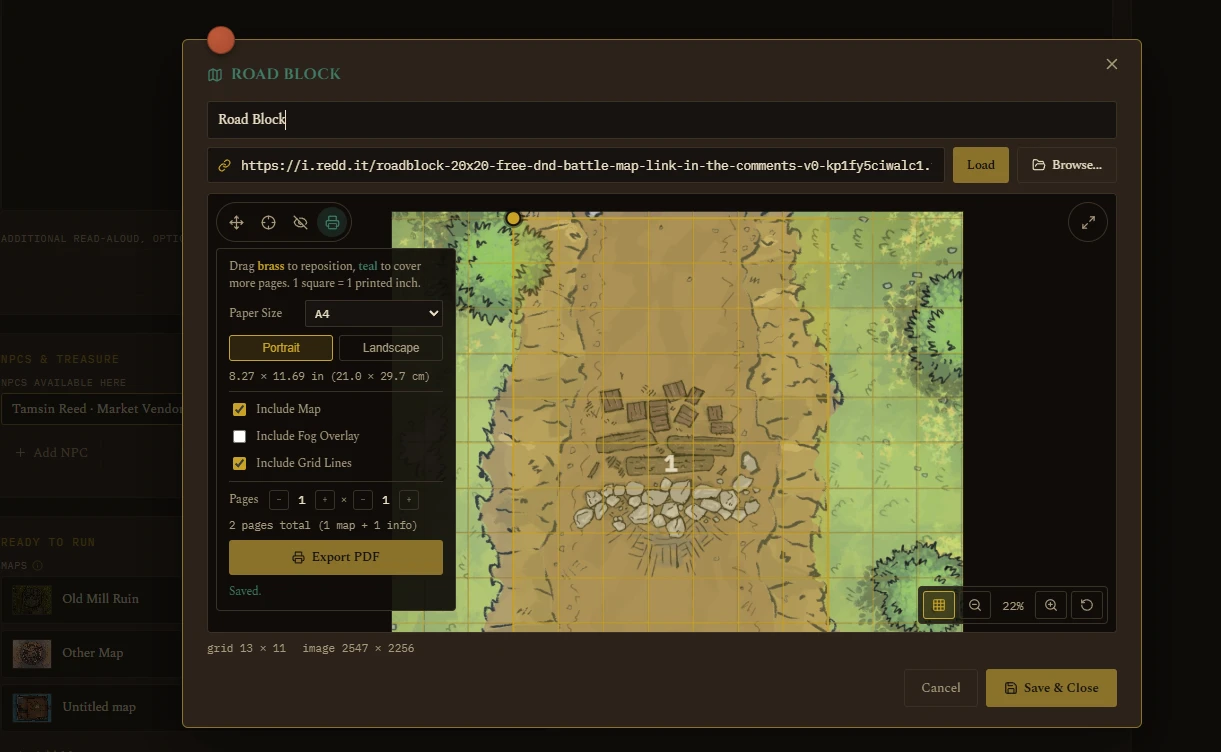
The exported PDF includes the map page(s) at true scale, plus a closing info page with the calibration details and a QR code back to the app.
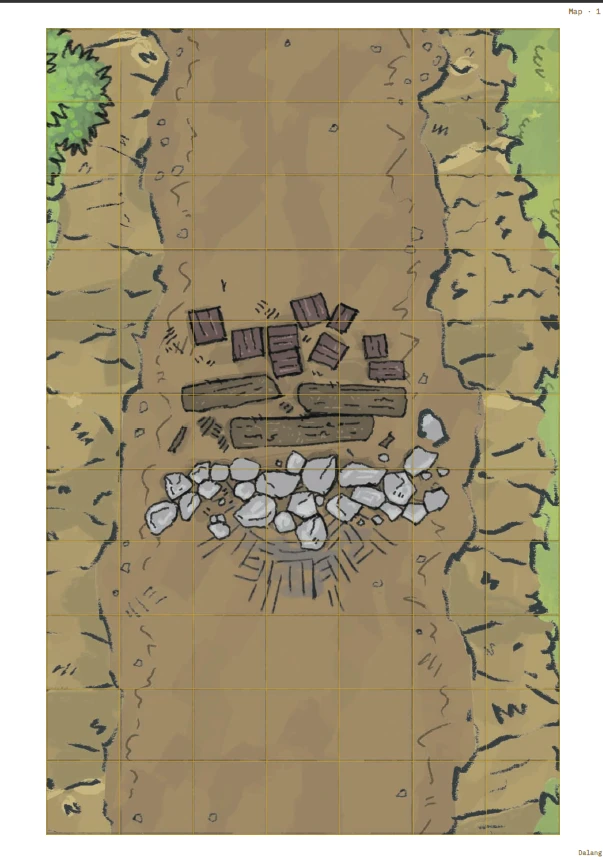
Want to see a real one before trying it yourself? Download a sample printable map PDF, exported straight from the app's own built-in starter adventure.